Introduction — Why quality control starts before the purchase
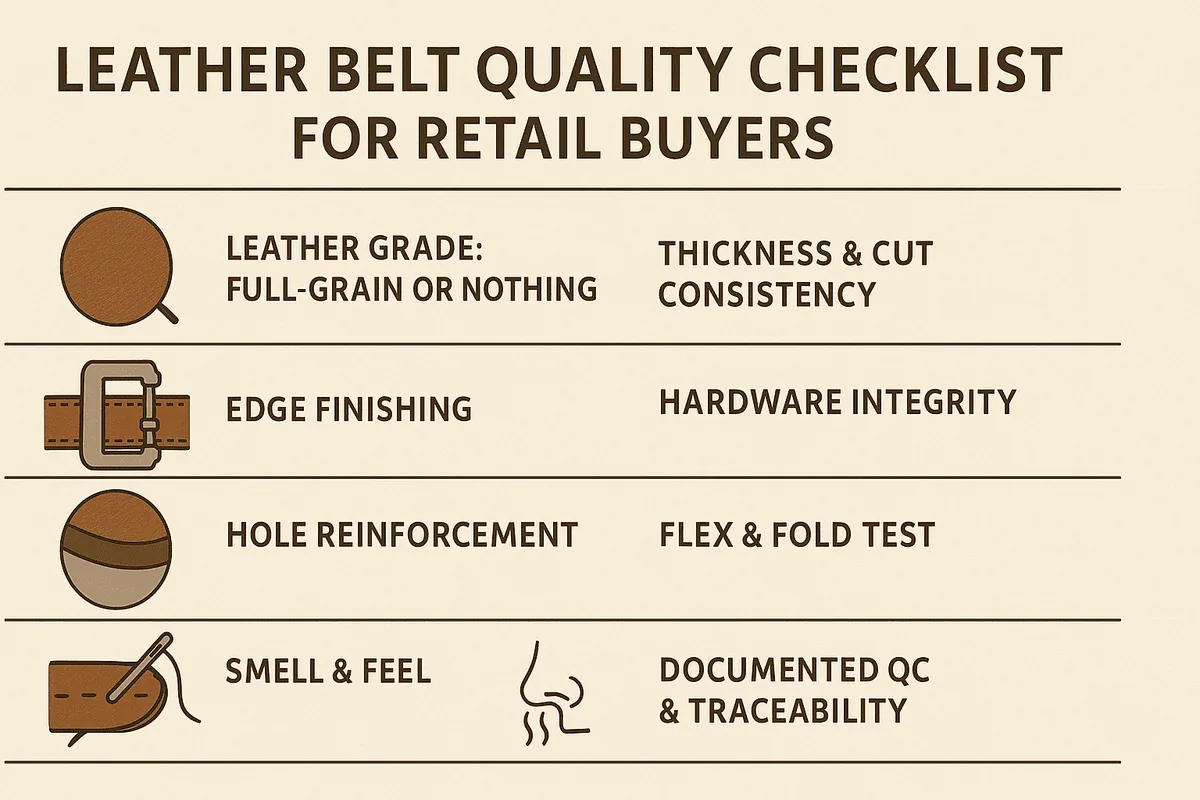
A single faulty belt can spark online returns, negative reviews and margin loss. Spotting quality at the sourcing stage keeps shelves clean and customers coming back. Use this nine-point checklist to evaluate any sample or shipment before you commit to a wholesale run. It is written for retail buyers and private-label brands who need a fast, repeatable method — not a laboratory report.
Urban Tuck manufactures buffalo leather belts in Kanpur (founded 2023). When you want to run the checks on live samples, start with the Classic Bridle Leather Belt or the Executive Dress Black Belt. Belt MOQ is 100 pieces per colour / size run.
1. Leather grade: full-grain or be clear why not
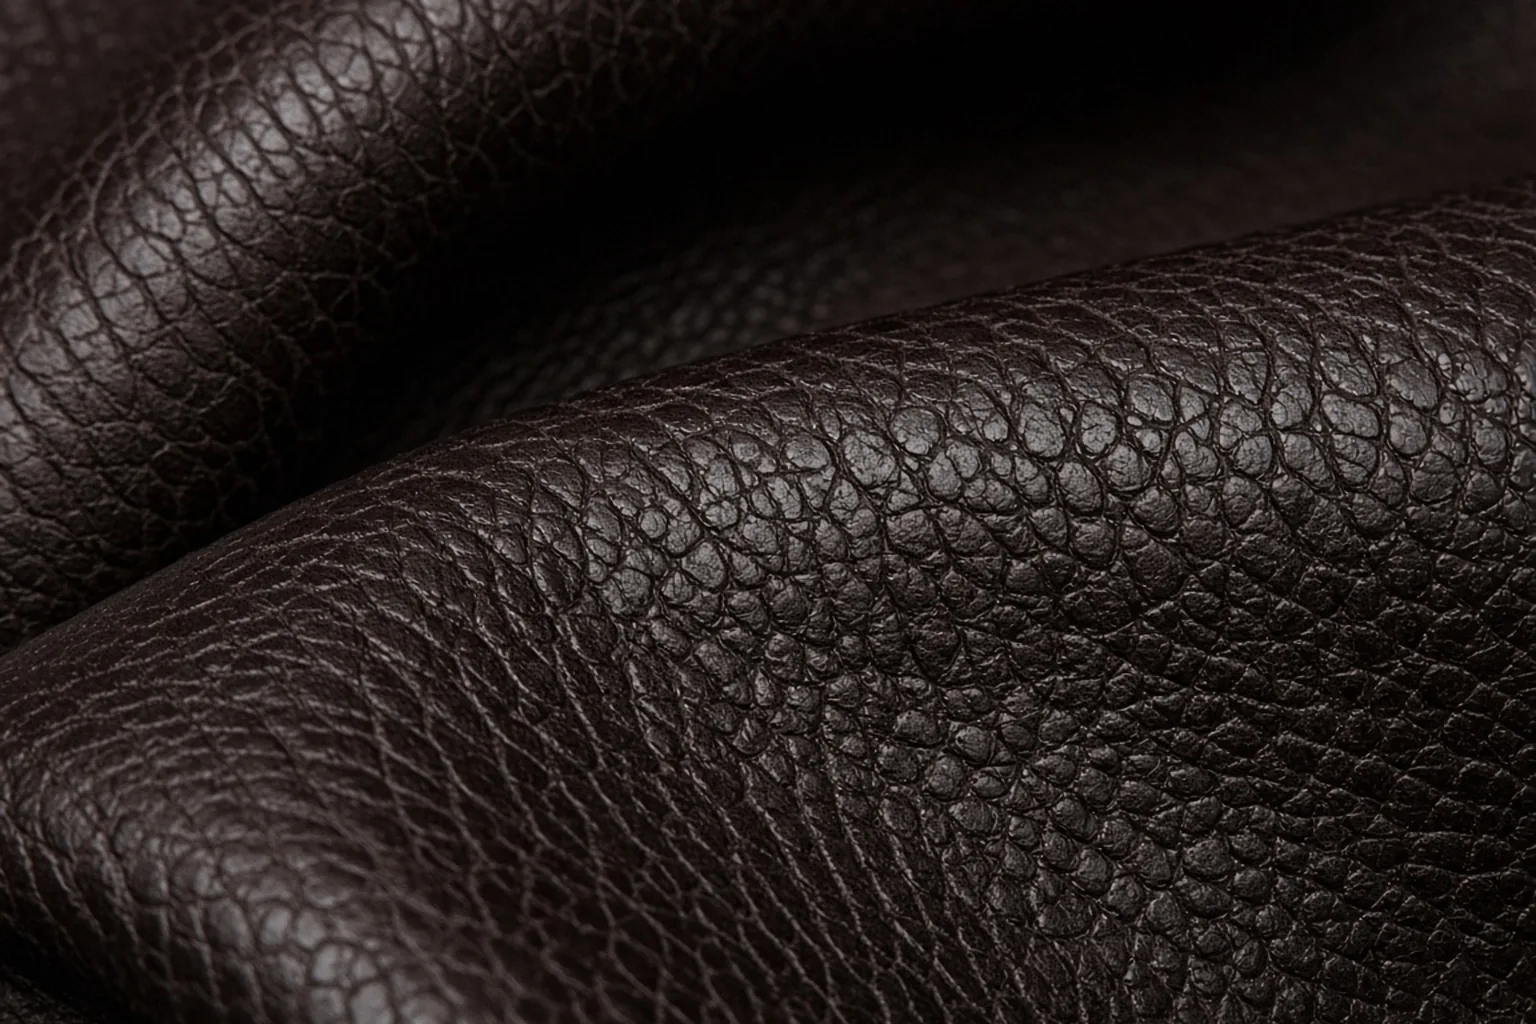
Lift the strap’s edge under bright light. Full-grain leather shows natural pores and subtle grain variation — our guide to leather grading explains each grade. “Genuine” or split hides often feel plasticky and show an even, stamped pattern. Prefer full-grain when the belt is meant to last and take a patina; if you choose a corrected finish for a price architecture reason, write that decision down so the buying team does not treat it as a like-for-like substitute later.
2. Thickness and cut consistency
Measure three random spots with a calliper. Agree a thickness tolerance appropriate to the construction before approving the sample. Confirm the required thickness range on your sample and purchase specification. Record the three readings on the sample card so bulk lots can be compared to the same method, not to memory.
3. Edge finishing
Run a fingernail along the edge:
- Smooth and sealed — burnishing and wax or paint have been applied.
- Fuzzy fibres — hurried sanding and a higher risk of fraying in wear.
Double-tone edge paint adds polish but should not crack when the strap is gently flexed. Edge quality is one of the first things a customer notices in-hand, so fail samples here early.
4. Stitch density and tension
Count the stitches per inch (SPI). Compare stitch spacing and tension with your approved sample. Tug lightly on a single stitch; there should be no slack loops or “ladder” gaps. Check both long edges and the billet tip, where rushed work usually shows first.
5. Hardware integrity
Unfasten and refasten the buckle five times: the prong must align smoothly without metal burrs. Solid brass or zinc-alloy buckles feel cool and weighty; hollow, lightweight frames dent easily and loosen on the first season of wear. Confirm buckle finish (brass, nickel, gunmetal) against the line sheet so replacements stay consistent.
6. Hole reinforcement
Pin-holes must be punch-cut cleanly, free of ragged edges. On stress points (first and last holes), look for discreet reinforcement backing or double-stitching to stop tearing. Stretch marks around holes on a brand-new sample are a reject, not a “character” note.
7. Flex and fold test
Bend the belt in a tight “U” for five seconds, grain side out:
- Full-grain shows minimal lightening and no cracking.
- Corrected or coated splits often develop visible micro-cracks — a red flag for early surface peeling.
Do the same test near a punched hole. If the finish spiders there, the belt will fail first at the waist in real use.
8. Smell and feel
Natural full-grain has a rich, earthy leather scent that still helps in-store conversion. Chemical or plastic odours hint at heavy coatings or bonded layers. Feel for warmth and fibre, not a sealed plastic sheet. If the sample smells strongly of solvent out of the box, air it and re-check before you approve the finish.
9. Order Specifications & Inspection Notes
Request batch numbers, tanning method details, and final inspection reports. Specifications are shared with samples; agree inspection and record requirements before ordering. Keep those documents with the signed sample so a later reorder can be matched without reopening the full brief. For the commercial side of buying factory-direct, see why retailers buy leather belts direct from the manufacturer.
Quick reference table
| Check | Pass indicators | Fail indicators |
|---|---|---|
| Grain | Visible pores, unique patterns | Plastic-like emboss |
| Thickness | Within the agreed sample tolerance | Thin spots near holes |
| Edges | Smooth, sealed, no fuzz | Rough fibres, paint cracks |
| Stitching | Even spacing, no loops | Uneven gaps, loose threads |
| Hardware | Solid feel, no burrs | Lightweight, dents easily |
| Hole finish | Clean punch, reinforced | Ragged edges, stretch marks |
| Flex test | No cracks, slight lightening | Surface splitting |
| Smell | Rich, natural leather | Chemical, plastic scent |
| Docs | Batch records, QC log | Missing paperwork |
How to use the checklist on a sample order
- Photograph the sample under the same light you use on the shop floor.
- Fill the nine checks on one card per SKU; do not mix colourways on one card.
- Record calliper readings and SPI counts as numbers, not “looks fine”.
- Attach buckle finish and edge-paint notes before you approve bulk.
- File the card with the purchase order and the MOQ confirmation (100 pieces per colour / size run).
If you are still choosing where to manufacture, the Kanpur leather belt buyer’s guide covers local sourcing checks. Export routing options are summarised on the leather export page.
Conclusion — quality sells, returns cost
Retail success hinges on products that feel right at first touch and last for seasons. Running every prospective belt through the nine checks above protects margin and brand reputation before the carton leaves the factory. Request samples of the Classic Bridle Leather Belt or Executive Dress Black Belt, or ask a question on the contact page.